Product Introduction
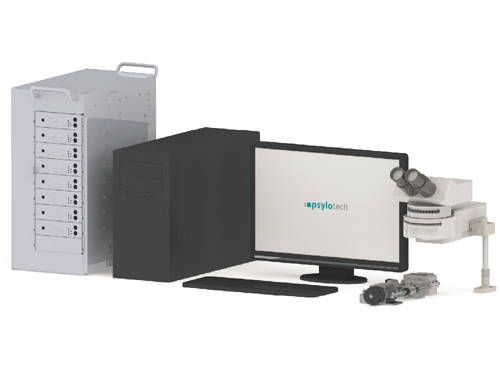
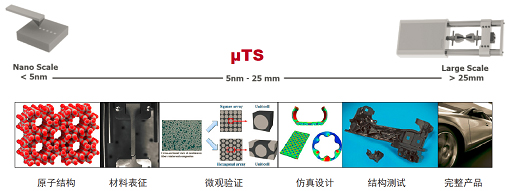
μmicro-scale test and measurement system——the combination of optical microscope and DIC digital image correlation technology can meet the needs of nanometer-level precision measurement. The resolution of an optical microscope is limited to 250nm due to the wavelength of visible light. However, since DIC technology has powerful image processing capabilities and can accurately measure 0.1-element displacement, the resolution of the μTS microscopic testing system can reach 25nm.
In the in-situ loading experiment of materials under an optical microscope, the biggest challenge is the out-of-plane displacement generated by the loading process. A high-resolution displacement field requires a high-magnification microscope, which means that the depth of field is very small, and an out-of-plane displacement of a few microns will cause the microscope to lose focus. The μTS micro-scale test and measurement system is specially designed for off-plane displacement, effectively controlling the impact of off-plane displacement on experimental results.
Applications and features:
- Continuum Model Validation - Multi-scale Testing for FEA of Anisotropic Materials
- Microscale specimen testing – reducing material development costs
- Multifunctional module design-meet different test and environmental requirements
Continuum Model Validation
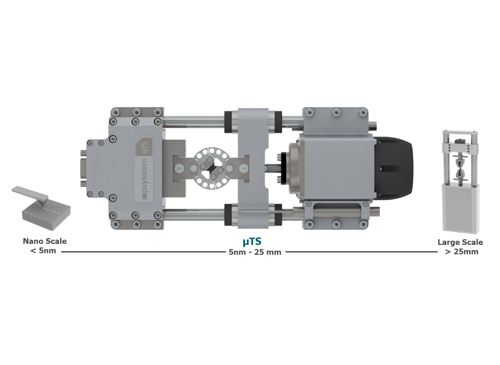
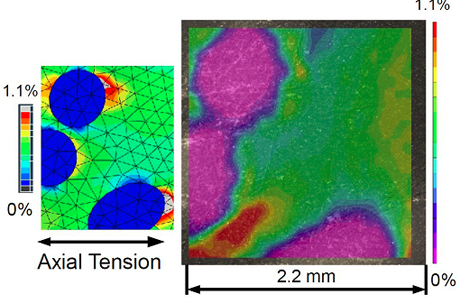
In finite element analysis (FEA), the mechanical properties of the material are assumed to be uniform, which is used to set the size of the mesh elements and obtain a reasonable number of calculations. The Psylotech μTS system is a tool for validating continuum models over more than six orders of magnitude length scales. Through digital image correlation (DIC) technology and optimized optical microscope, the displacement field obtained in the mechanical test can be controlled to a resolution of 0.1 image element, the displacement field can reach a resolution of up to 25nm, and the strain field resolution can reach 0.01%.
Microscale specimen testing
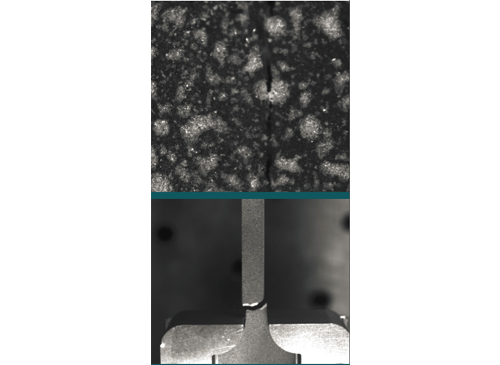
For the research and development of new materials, because the cost of nanoparticle-reinforced composites is too high, ASTM standard samples of all sizes will not be mass-produced. If the traditional dog-bone specimen is used for specimen testing, the test cost will be very high. When the number of samples is limited, μTS combined with DIC strain measurement technology can measure micro-scale samples and obtain high-quality data.
Multifunctional module design
The μTS system from Psylotech stands out in today's microscopy market with its broad functionality. These capabilities open up new possibilities for materials testing applications as well as emerging testing techniques. Its main functions include:
1.Fixtures to meet different measurement needs:
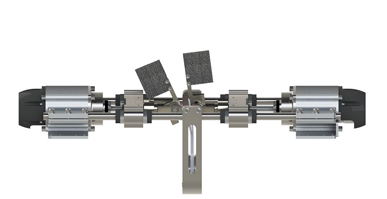
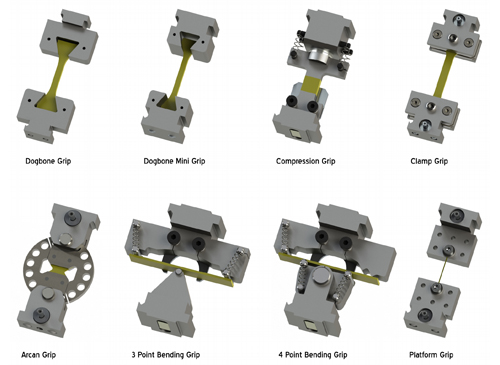
μTS is a versatile test system suitable for many mechanical tests. The test fixture can realize: shear, tension, film tension, compression, beam bending. These grips are also suitable for fracture mechanics testing.
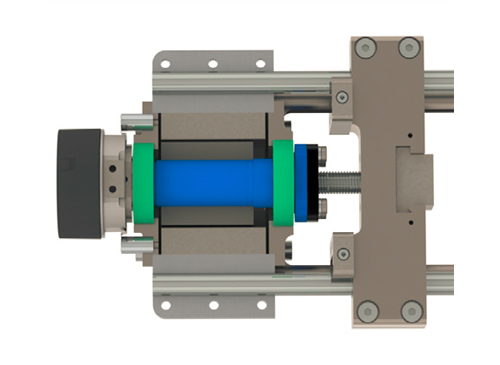
3.High resolution load sensor:
The capacitive load sensors used by Psylotech are 200 times more sensitive than strain gauge sensors. This load sensor has ultra-high sensitivity and similar signal-to-noise ratio. The resolution is 100 times that of the strain gauge sensor, which means that the resolution of the load with a range of 1600N can reach the mN level. The high-resolution sensor solves the problem of having to configure an additional small-range load sensor for low-load tests, saving time on load installation and adjustment, and greatly improving experimental efficiency.
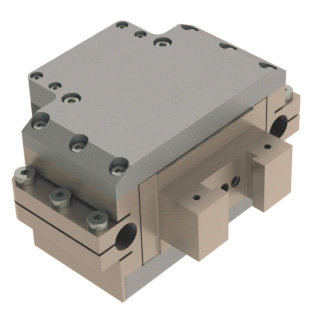
4.High-resolution crosshead displacement sensor:
Psylotech uses inductive displacement sensors mounted on a crosshead fixture to directly measure local strain. The measuring range is 25mm and the measuring resolution is 25nm, which can measure very small displacements at close range. The pillars at both ends of the system can be adjusted according to the gauge length on the test piece, and the pillar length can be customized as needed.
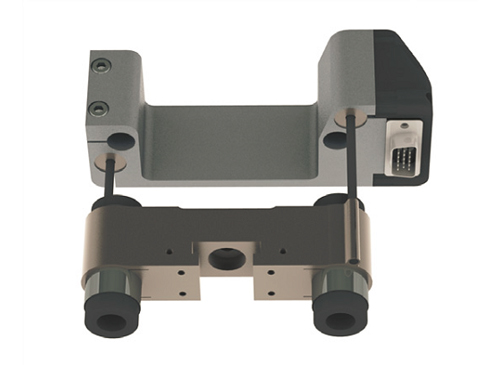
5.Adjustable workbench:
The adjustable workbench ensures that the analysis area is always in the center of the microscope objective field of view during the experiment. The user sets an adjustable ratio, and the software controls the cross head accordingly to achieve this function. The μTS test machine including all fixtures can be assembled directly on the top of the workbench. The table is capable of a full range of primary motion.
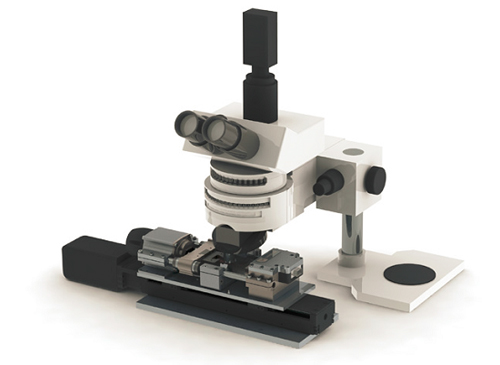
6.LabVIEW control software:
Adhering to the principle of "giving users a development tool", Psylotech provides users with LabVIEW interface and source code, including closed-loop control. Advanced users can also make adjustments based on their specific needs and personal preferences.
7.Temperature box:
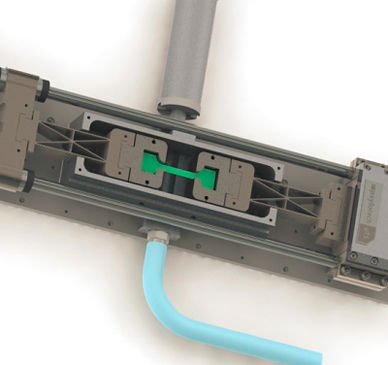
Using an optical microscope in conjunction with a temperature control module can speed up the validation of thermodynamic models. The temperature chamber can provide a test environment from -100°C to 200°C and perform precise DIC analysis, load and crosshead displacement measurements. The temperature accuracy and stability are less than 0.5°C, and the full range of set temperatures can be reached within a few minutes. The liquid nitrogen system integrates a high-flow blower to ensure uniform heating of all locations on the specimen surface.
| illustrate | 1.6kN Micro Frame | 4.5kN Vacuum | 10kN Mini Frame |
|---|---|---|---|
| Load capacity(N) | 1600 | 4500 | 10000 |
| Loading resolution (mN) | 0.5 | 140 | 3 |
| Stroke(mm) | 40* | 28 | 100* |
| Displacement resolution (nm) | 25 | 5 | 125 |
| Minimum rate (nm/s) | 25 | 5 | 125 |
| Maximum rate (nm/s) | 200 | 35 | 140 |
| Peak acceleration (m/s2) | 10 | 0.6 | 7 |
| Analog sensor output | BNC | ||
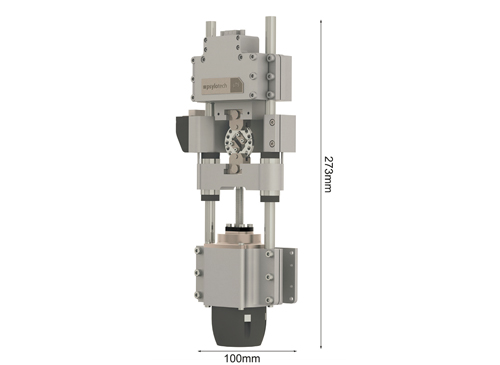
| Length x width x height (mm) | 300x100x54 | 180x100x71 | 650x200x123 |
| Weight(kg)) | 2.5 | 1.5 | 23 |
| Control loop (Hz) | 500 | ||
| Power Requirements | 120/240V@60/50Hz | ||
- Proprietary model support: SEM in-situ loading
- Configurable high-quality microscope, camera and DIC software: VIC-2DD
- There is also polymer simulation software: Visca™ – Polymer Simulation Solution
Interface mechanical properties testing system
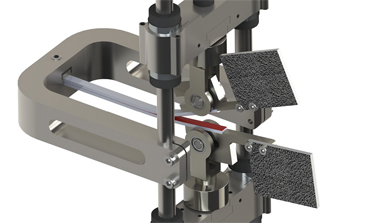
The MMF (Multiple Fracture Device) cohesive force model can be a good analogy for the interfacial mechanical properties of bonded structures. For VISCA_bond, the special dual actuators of Psylotech's miniature universal loading frame can apply any mix of modes to the dual cantilever specimen. Deflection and rotation are measured by digital image correlation based on a speckle pattern “signature” extending from the end of the beam. Both the test equipment and data analysis software are included in the adhesive bonding simulation solution.
Application
- Composite materials: Construct macroscopic material properties from the microscale and study the changes in properties for different fibers and loading directions.
- Metal microstructures: Study the interaction between metal grains and understand the effects of surface strain.
- Welding: Testing of small weld sections to obtain thick anisotropic material properties.
- Ceramics: Study the toughening mechanism of materials and measure the local strain changes at the crack tip.
- Material Gene: Provides multi-scale measurement of materials and provides a basis for the factors that affect material properties at different scales.
- Life sciences: Study the local properties of cells and tissue structures, and provide temperature and flow field environmental support.
- Automobile: Testing the changes in thickness properties of welding and casting hot working, and the interaction between composite particles and matrix.
- Papermaking: Measuring strain fields of interlocking fibers to understand the mechanism of strengthening materials and save costs.
- Nuclear industry: reduce the use of limited materials and reduce radiation.
- Military: Microscale simulations are widely used in the military, such as fiber-matrix interaction, soft tissue and bone damage research.
